|
|
|
Continued...
![]()
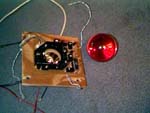
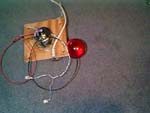
| The hardest part of adding a track ball is selecting one. I picked up one from Q-Tronix for $22 at a computer show. After removing the casing, I was left with a ball and a printed circuit board that holds the ball and contains all the decoding electronics. After soldering some wires to the button switches on the circuit board and mounting it to a piece of plywood, I was ready to go! |

|
| I attached the insides of a flashlight to the back of the plywood using hot glue. I soldered wires to the flashlight fixture and later attached them to the keyboard num-lock LED using a transistor. This causes the trackball to light up when the num-lock light flashes in MAME. |

|
| To mount the trackball, I created a cover plate using a plastic clip board. First I cut the plastic to size and cut a hole in the center with a hole saw. Then I used an exacto knife to bevel the inside of the hole and make a nice, tight fit to the trackball. I spent about 1
1/2 hours scraping the inside of the cover plate before I had a perfect fit.
Using the cover plate, I drilled holes in the control panel top. Then I used 4 lag bolts with lock nuts to attach the trackball, plate and control panel together. Everything fit together so well! |

|
| Continued... |